Hocus Pocus season is upon us! Which means it’s time to start pinning costume ideas on Pinterest, pull out your boots, order pumpkin spice lattes and of course: decorate for fall and Halloween!
Growing up, my mother always decorated for the holidays. Christmas was the most elaborate, but Halloween wasn’t far behind. I remember making tombstones out of styrofoam and coming up with clever rhyming stories as to why the imaginary person “died”. We’d then use Sharpie markers the size of my head to write the stories on the headstones. The screeching sound of the marker on the styrofoam and the smell was enough to make you think I’d hate decorating for Halloween, but nope. I loved every minute and still do.
I have continued the tradition of always decorating for Halloween. My brothers Chris and Michael fully deck out their homes too. Thankfully, nowadays you can find styrofoam headstones just about anywhere for Halloween. No stinky markers needed. Honestly, they may have sold them all along, but we were a very large family with not as large of a bank account. We got creative with what we had.
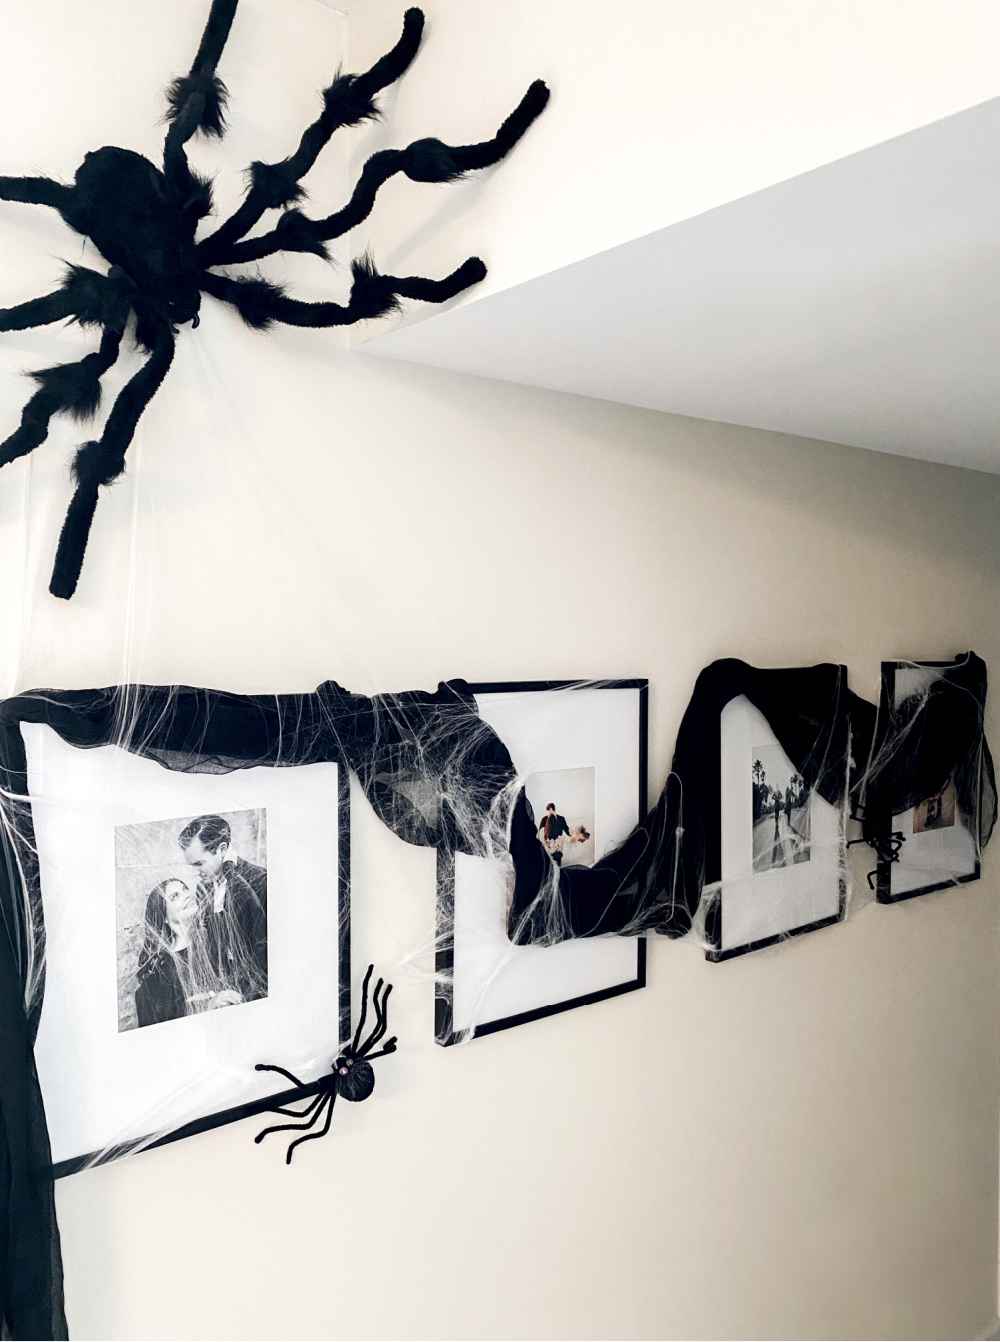
This year, I decided to include our hallway in the festivities. So, behold: Our Haunted Halloween Hallway.
Do you decorate for fall or for Halloween? Or do you do a mixture of both? Also, we’re currently taking name suggestions for our massive new spider friend. My husband suggested George.
Step-by-step directions:
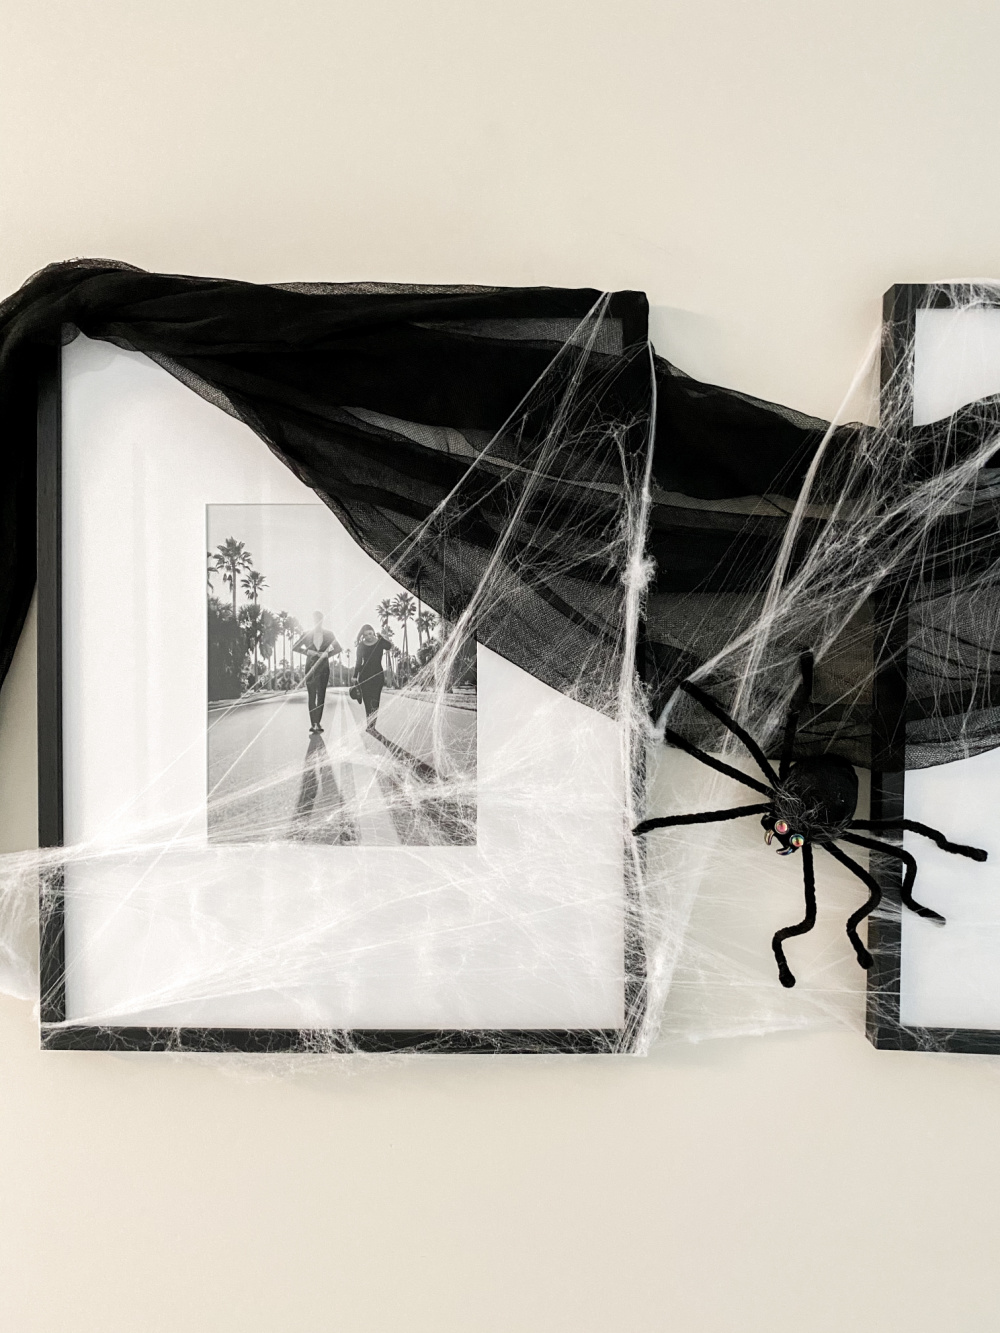
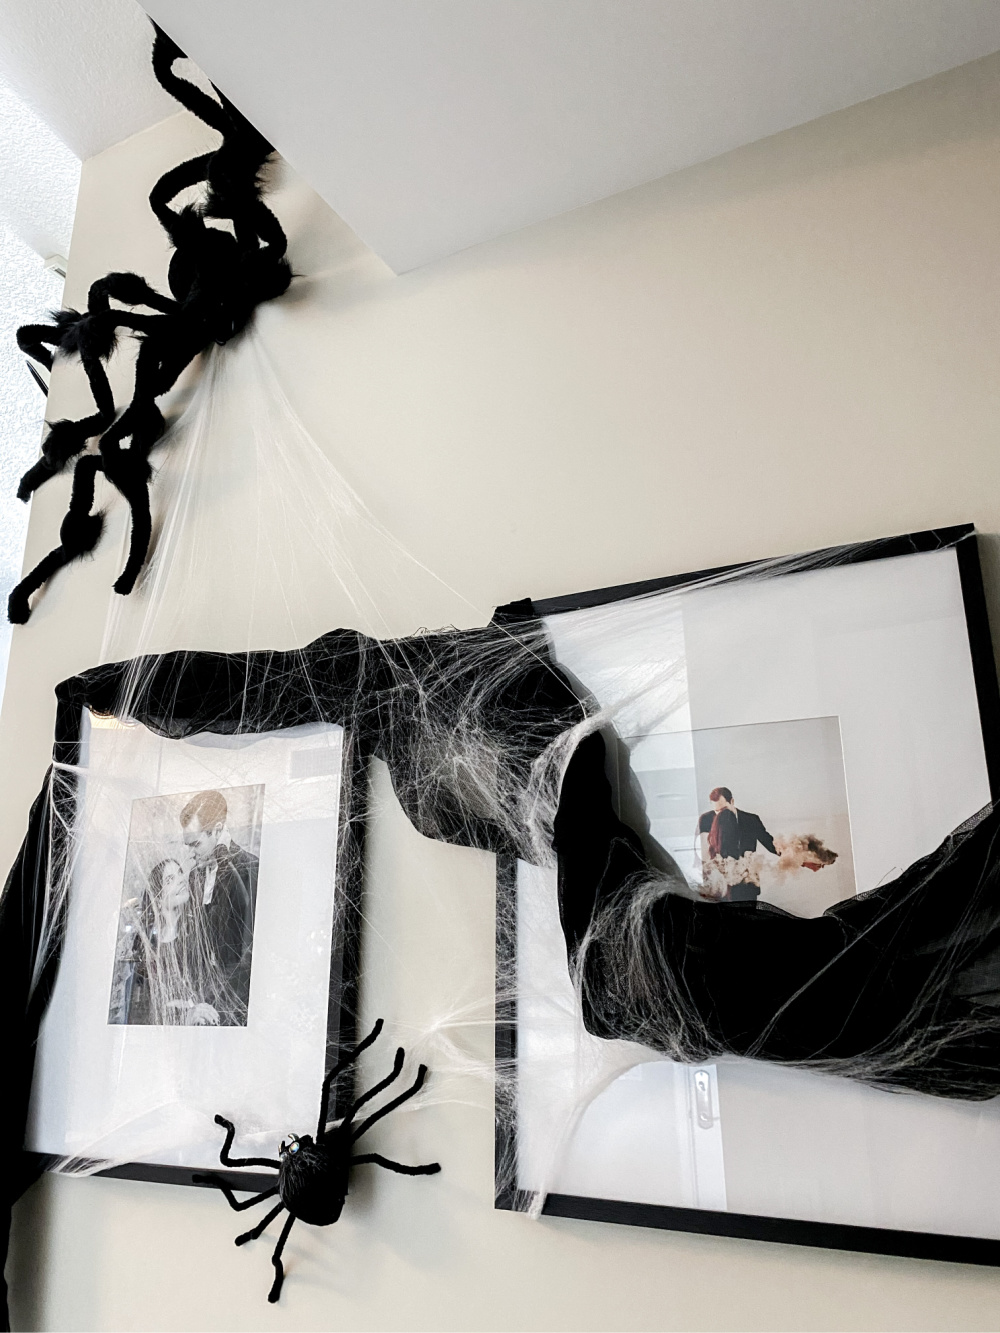
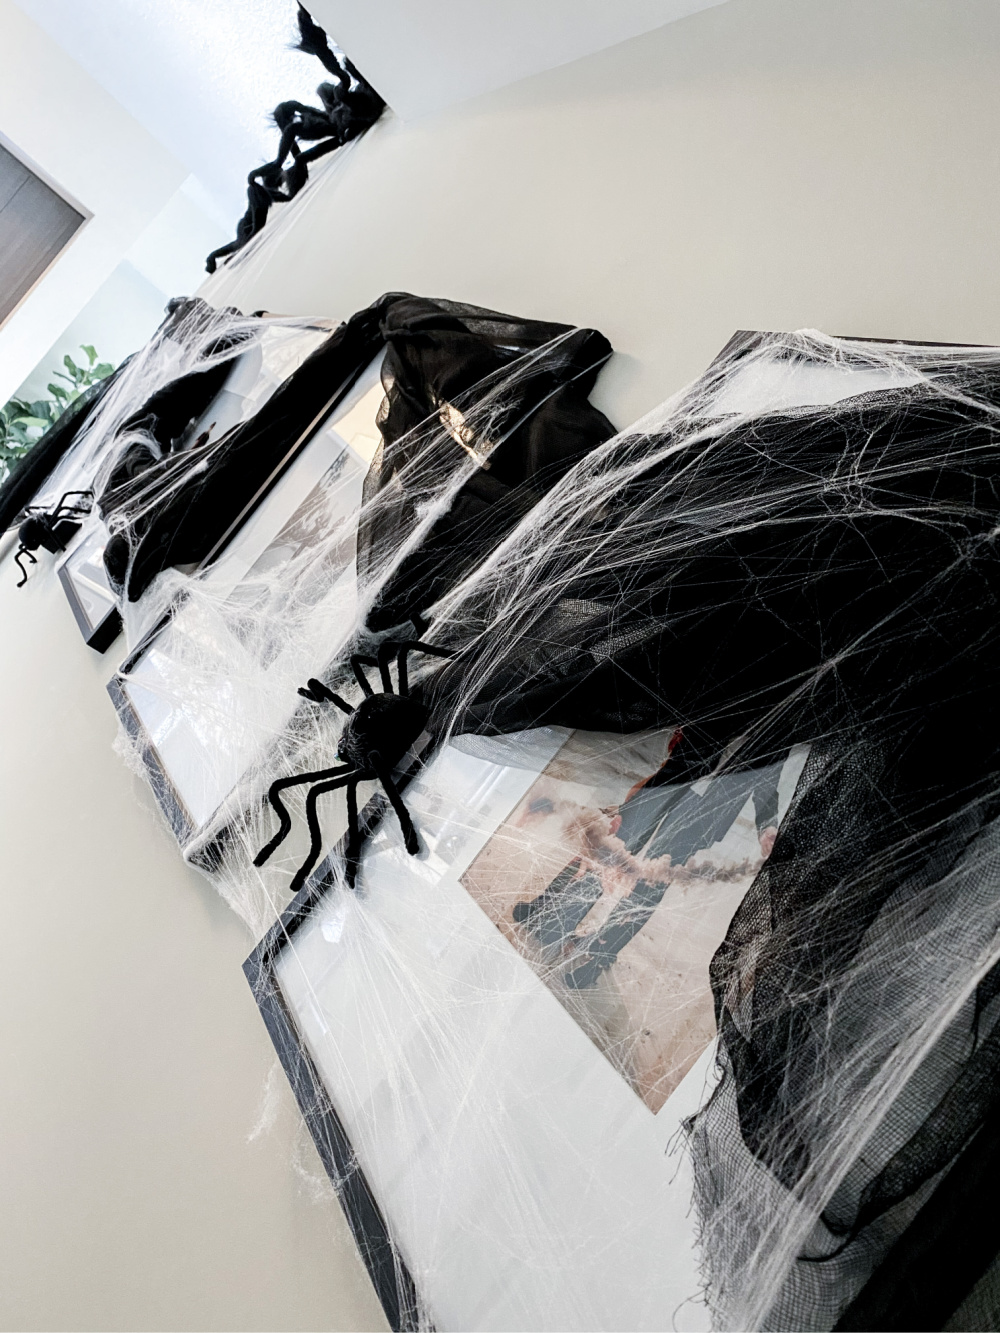
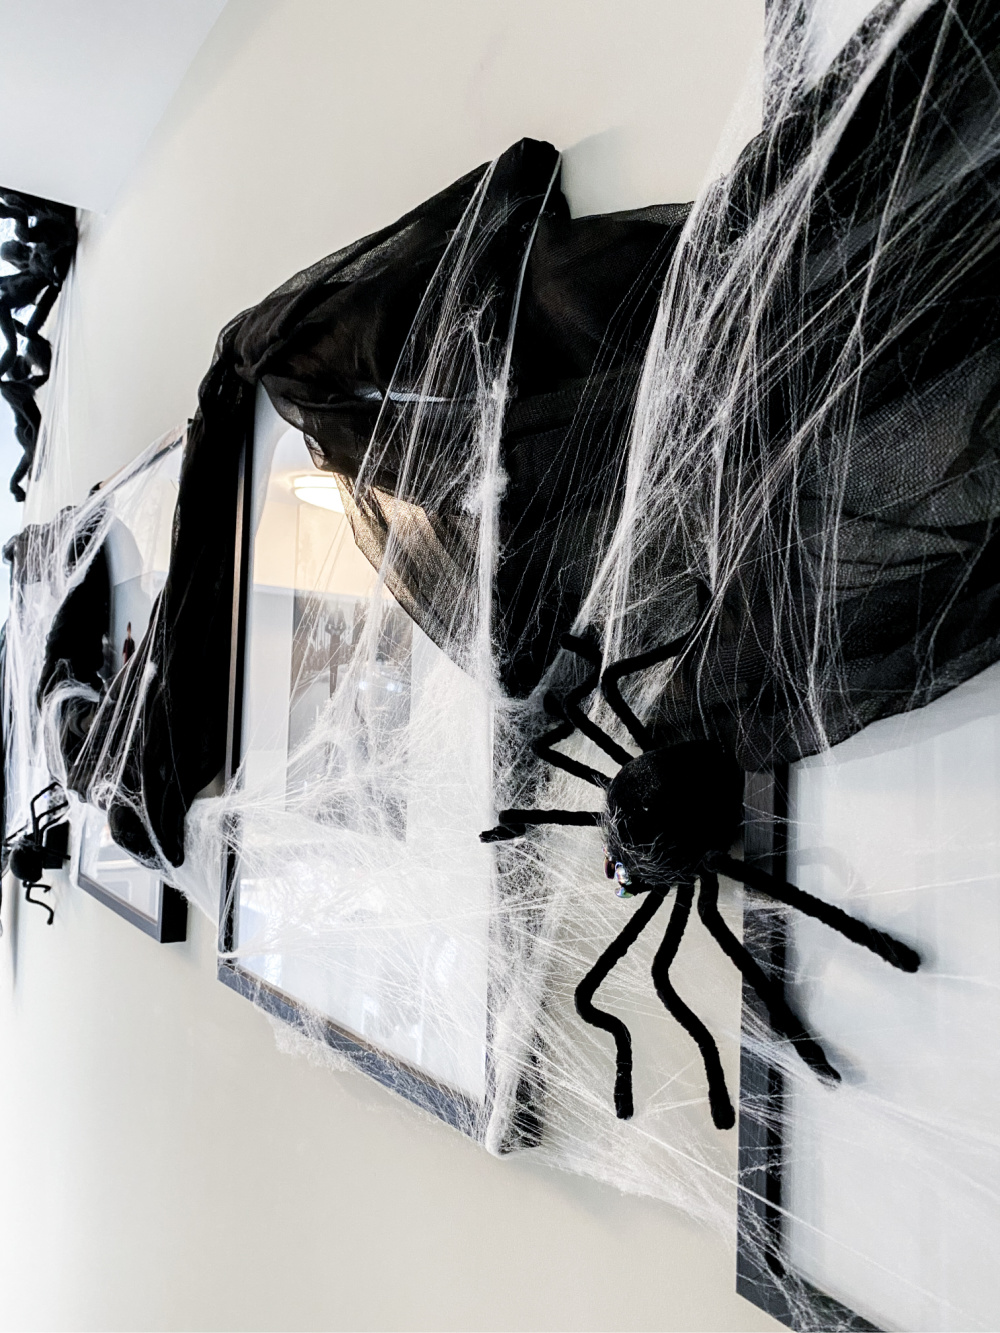
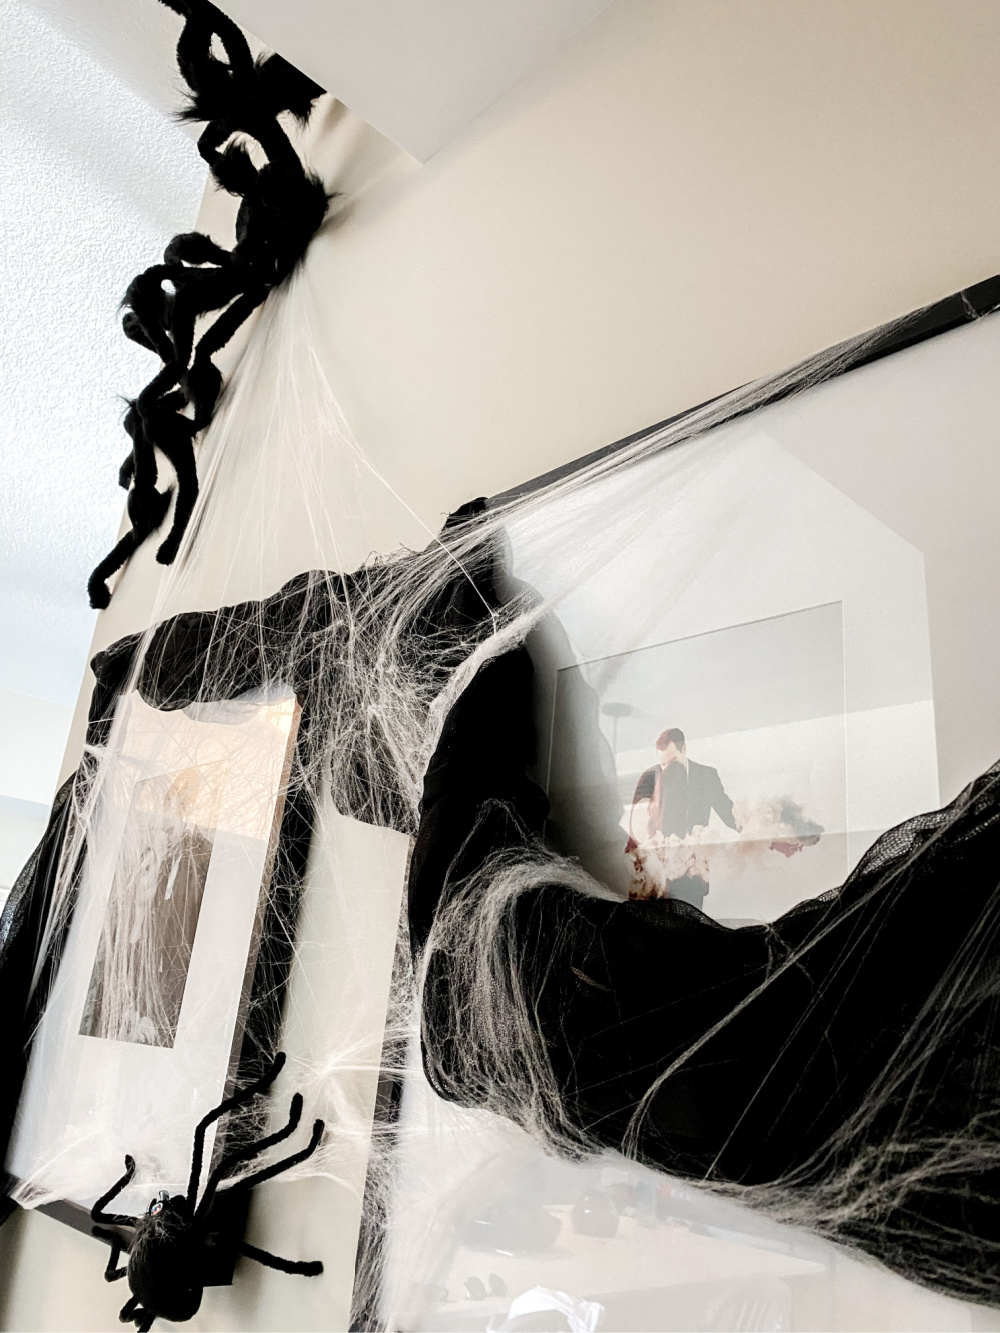
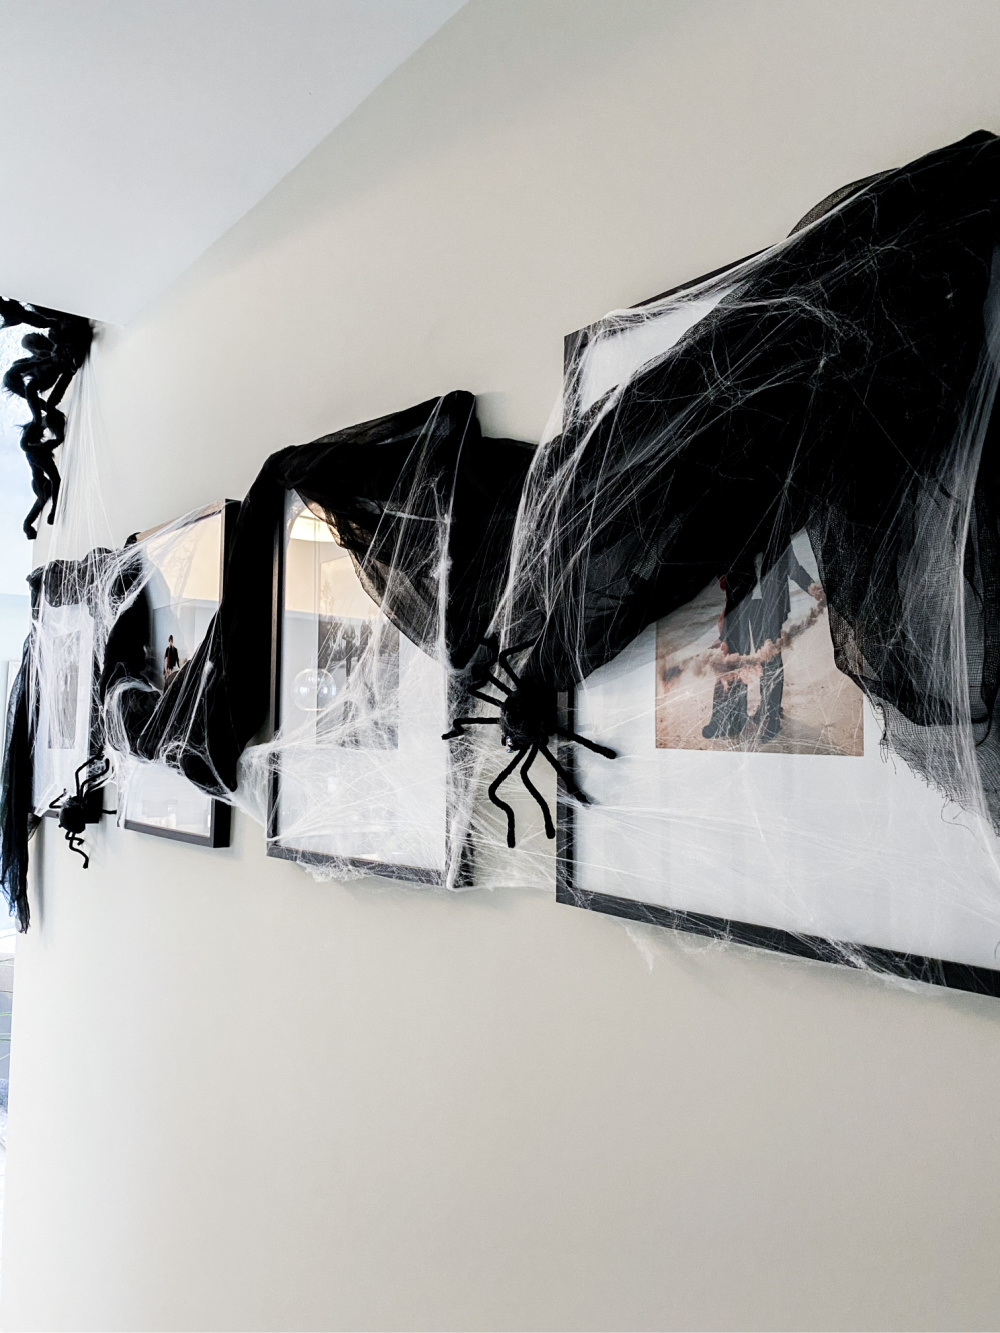
First, I hung the black gauze. I used a Command decorating strip to help hold it in place (on the top of the frame all the way to the left). This acted as an anchor and made it easy to drape without it falling. I then draped the black gauze in varying directions across the picture frames, being sure to wedge it behind the frame corners here and there to keep it in place.
Once the gauze was securely placed, I pulled and stretched the faux spider web across the frames. No need for Command strips for this part, since the web is so light. It easily tucks behind the frames without falling. The key is to really stretch the web thin, so you can see more of the strings and less chunks of “fluff”. This gives more of a real spider web look and allows you to be able to see the photos in the frames. Don’t feel like you have to use all the web in the bag, because a tiny bit goes a long way.
To hang the big spider, I used several large Command strips . I didn’t use any of the hooks that came with them, I just placed the strips directly onto the spider’s body and legs and fastened them to the wall. For the smaller spiders, I used small Command strips on their bellies and wedged their little legs into the web to keep them from falling.
TIP: To really make your “Haunted Hallway” have more of a gothic-vibe, swap out colored photos for black and white ones. Most of ours were already black and white, so I left them as is.

SHOP THE POST:

Oct 12, 2020
DIY: Easy Halloween Haunted Hallway Decor